

Floral Design 101: How (and why) to process flowers
What exactly is the “processing” step in flower arranging? If you’re new to floral design you may not be familiar with this term, which just means prepping the flowers and greenery before using them in arrangements. This is an important step, because processing your florals correctly can significantly increase the life of your work!
Processing flowers can sometimes feel overwhelming because different varieties of flowers may need specific techniques. (Pro tip – It’s helpful to look at Mayesh’s Flower Library (link to www.mayesh.com/flower-library) if you have a flower that you are unsure how to process correctly. They have tips for every flower variety – it’s a go-to resource for me!)
Before you start to process your flowers, you want to gather all of your tools. Make sure your buckets, knives, and cutters are clean. Working with clean floral processing tools will prevent issues with bacteria and give your flowers the best chance for a long life.
How to Process Flowers for Arrangements
Step 1 – Gather clean buckets and vases. Fill everything with cold water and add flower food according to the instructions on the package.
Side note: Is flower food really that important? Yes! Flower food provides a nutrient supplement to help the flower bud continue to develop into a beautiful, fully opened flower. It also helps lower the pH, which helps keep the water and food conducting system in the flower working at maximum efficiency. Aka a hydrated flower is a healthy flower! And just in case you weren’t convinced yet, flower food can keep floral stems from becoming plugged up. During transportation stems can become clogged with debris, but flower food has special ingredients that keep the water uptake flowing!
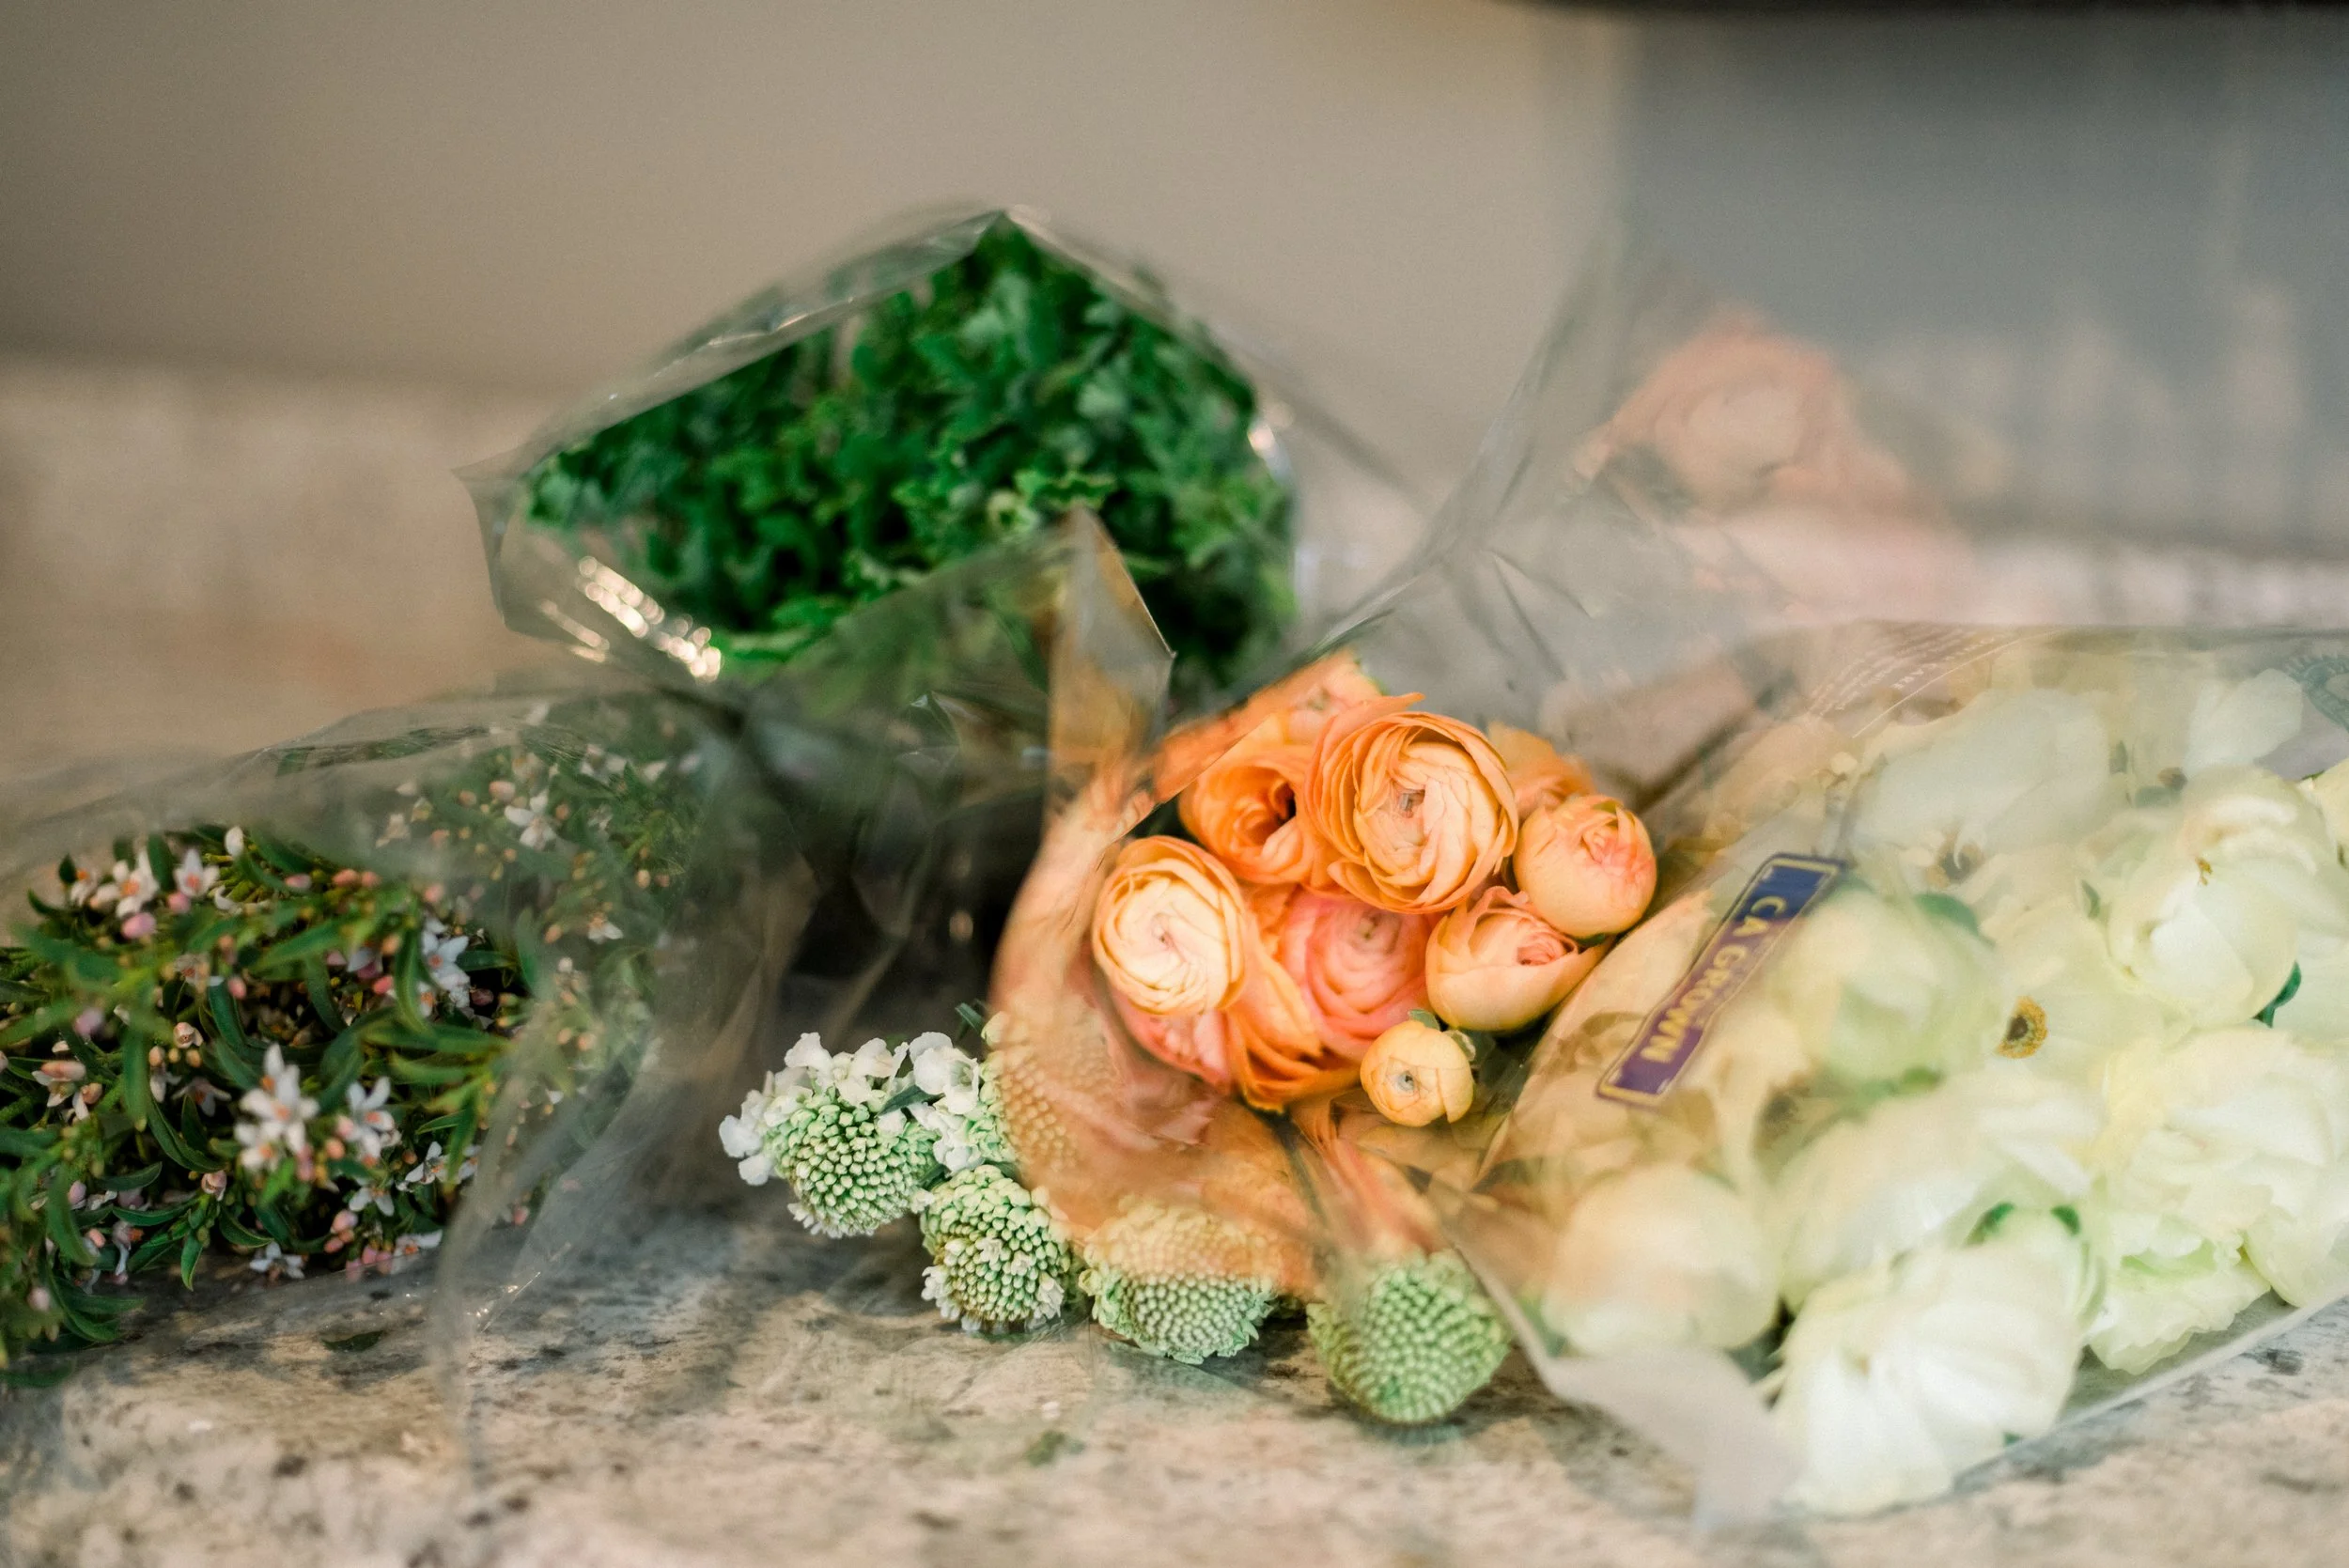
Step 2 – Unwrap the flower bunches. Cut off rubber bands, and remove any foliage that would be submerged under water.

Step 3 – Give the flowers and foliage a sharp angle cut before placing into water. This increases the surface area for the flowers to drink. Be sure to put the flowers back into water immediately after cutting! Once a stem is cut, most of the flower’s energy goes toward healing itself and preventing moisture from leaving. This is why it needs to go immediately back into water (with flower food) after being cut.

Step 4 – Allow flowers to hydrate for a few hours at room temperature. This gives them enough time to adjust to the new water, food, and location. Once the stems are rehydrated and filled with flower food, flowers should be moved to a cooler or cool area. Cold storage significantly extends a cut flower’s life span.
Floral Design Tips for Everyone
Whether you’re making a home arrangement with grocery store flowers or thinking about taking clients as a freelance florist, these flower processing tips will help you extend the life of your floral designs!

Ready to learn about design principles or how to launch your floral design business?
Check out Flourishing, the ultimate education for floral designers and freelancers.